How to use DECMS
From a new project to zero open checklist items in eight steps. New here? See what DECMS does.
- 1
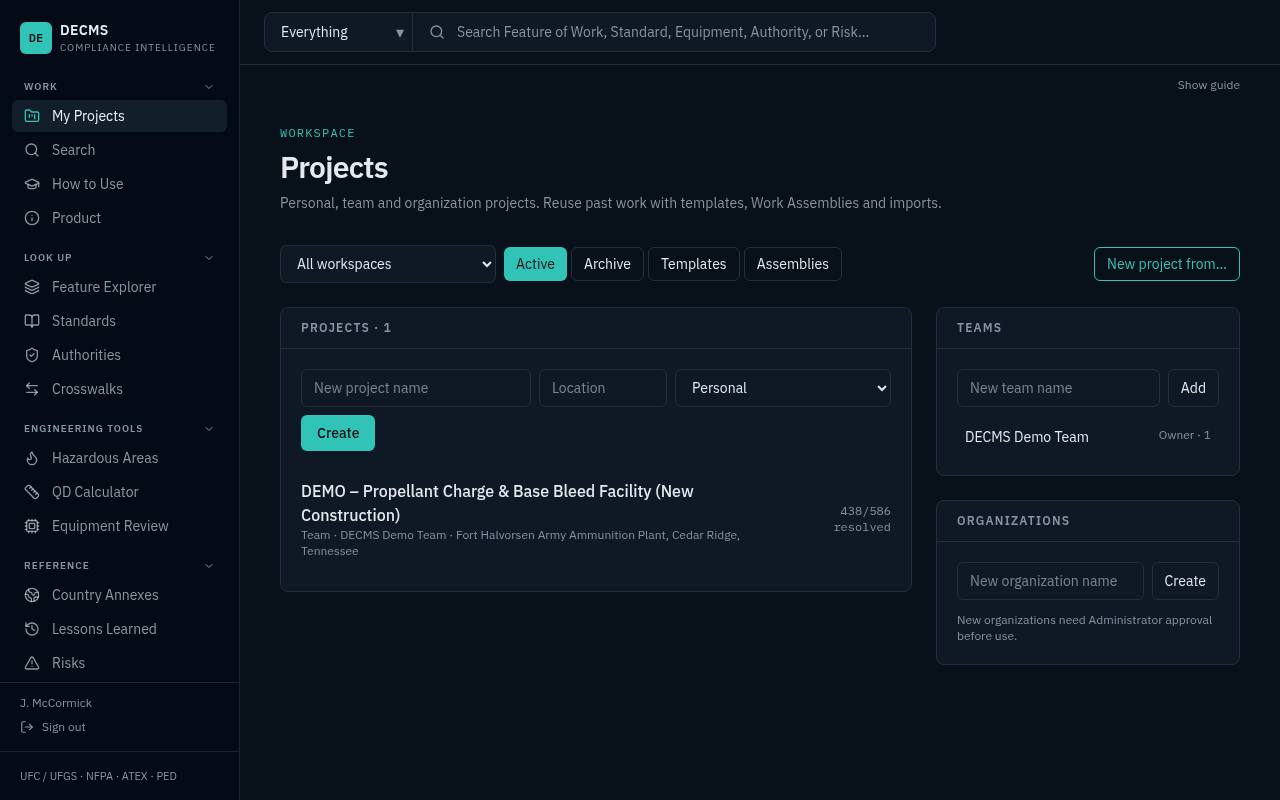
Sign in and set up your team
Why it matters: Projects are shared through teams and organizations, and roles decide who can edit and who can sign off.
- Sign in with email or Google.
- On My Projects, create a team (optional) and invite colleagues by email.
- Larger companies can create an organization that holds several teams.
 Do it now: Sign in →
- 2
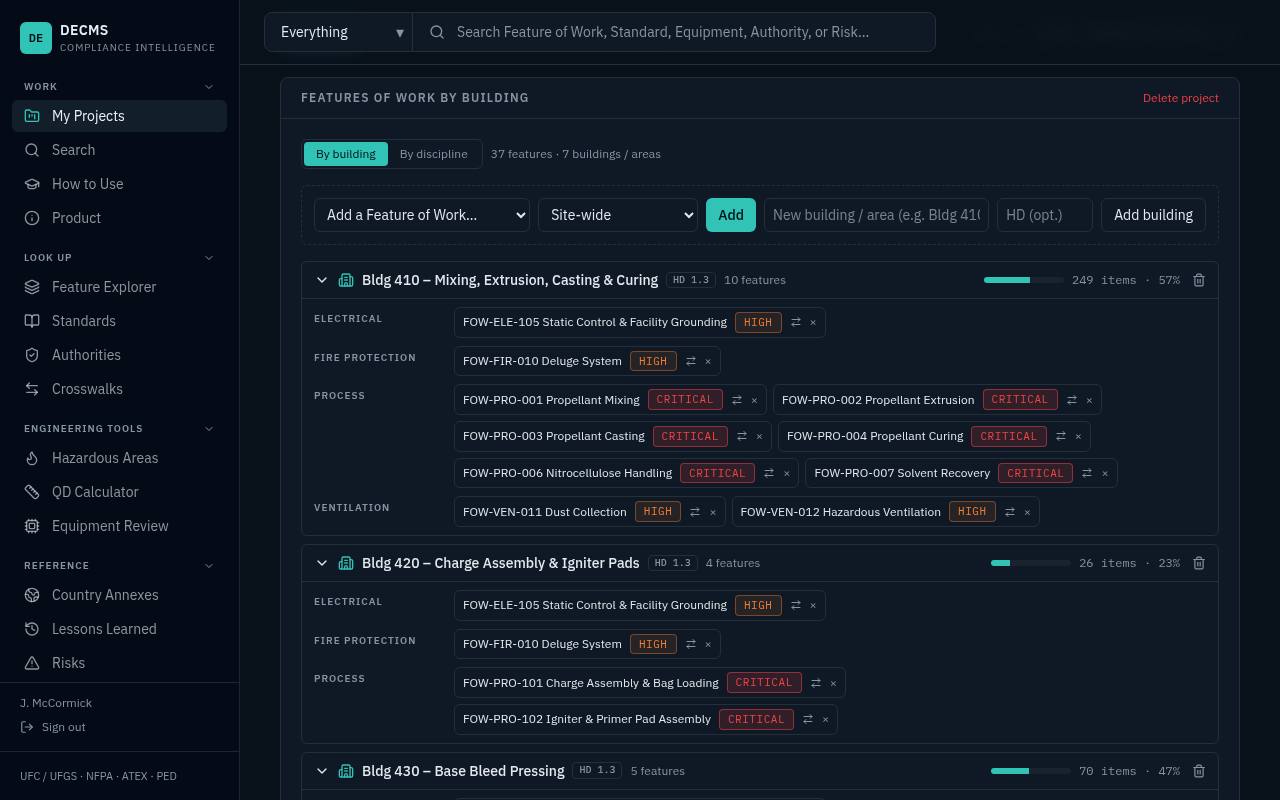
Quick-create a project
Why it matters: A project is where requirements become a checklist you can track to completion.
- On My Projects, click New project.
- Choose who owns it: just you, a team, or an organization.
- Set the host country so national annex items are added automatically.
- Or start from a Template project to reuse a proven setup.
 Do it now: Open My Projects →
- 3
Add Features of Work
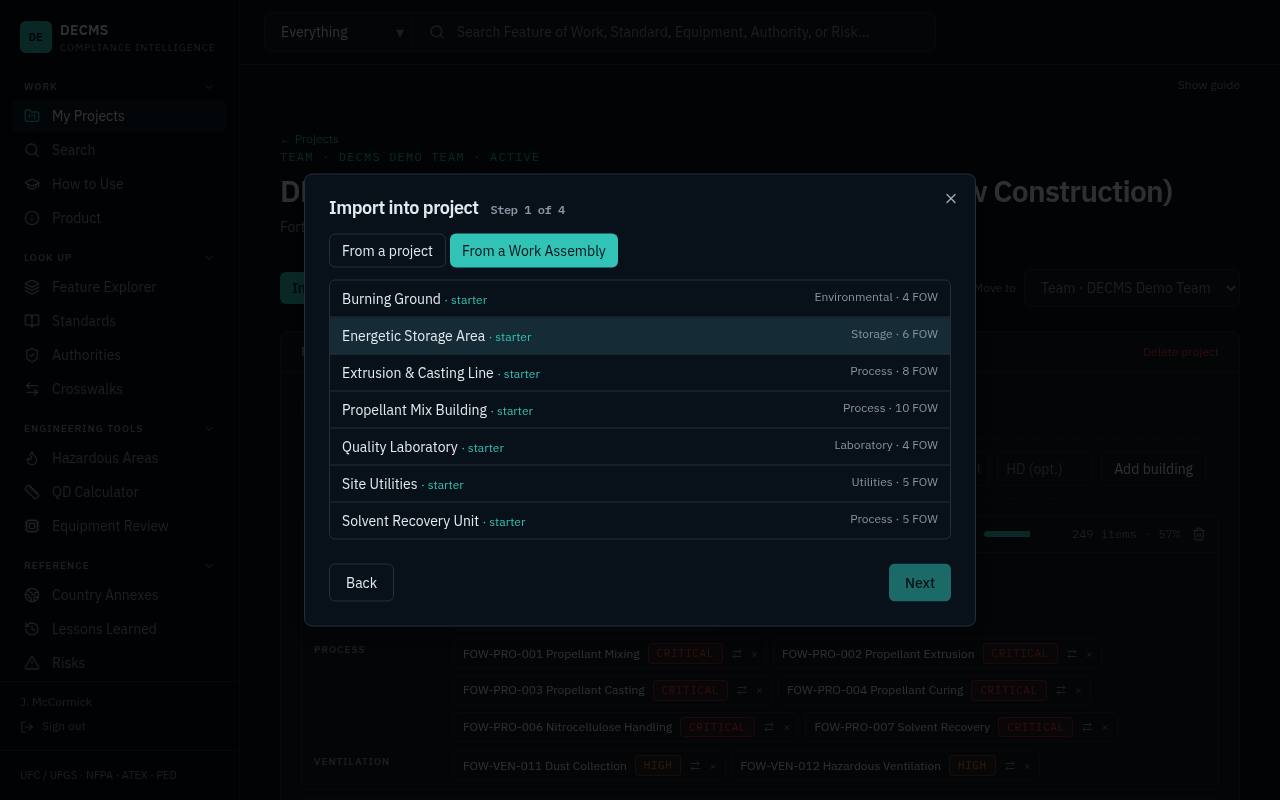
Why it matters: Each Feature of Work brings its standards and requirements into the project checklist automatically.
- Add features one by one from the project page.
- Use a Work Assembly to add a group of related features in one go.
- Use Import to copy features from an active or archived project.
 Do it now: Browse Features of Work →
- 4
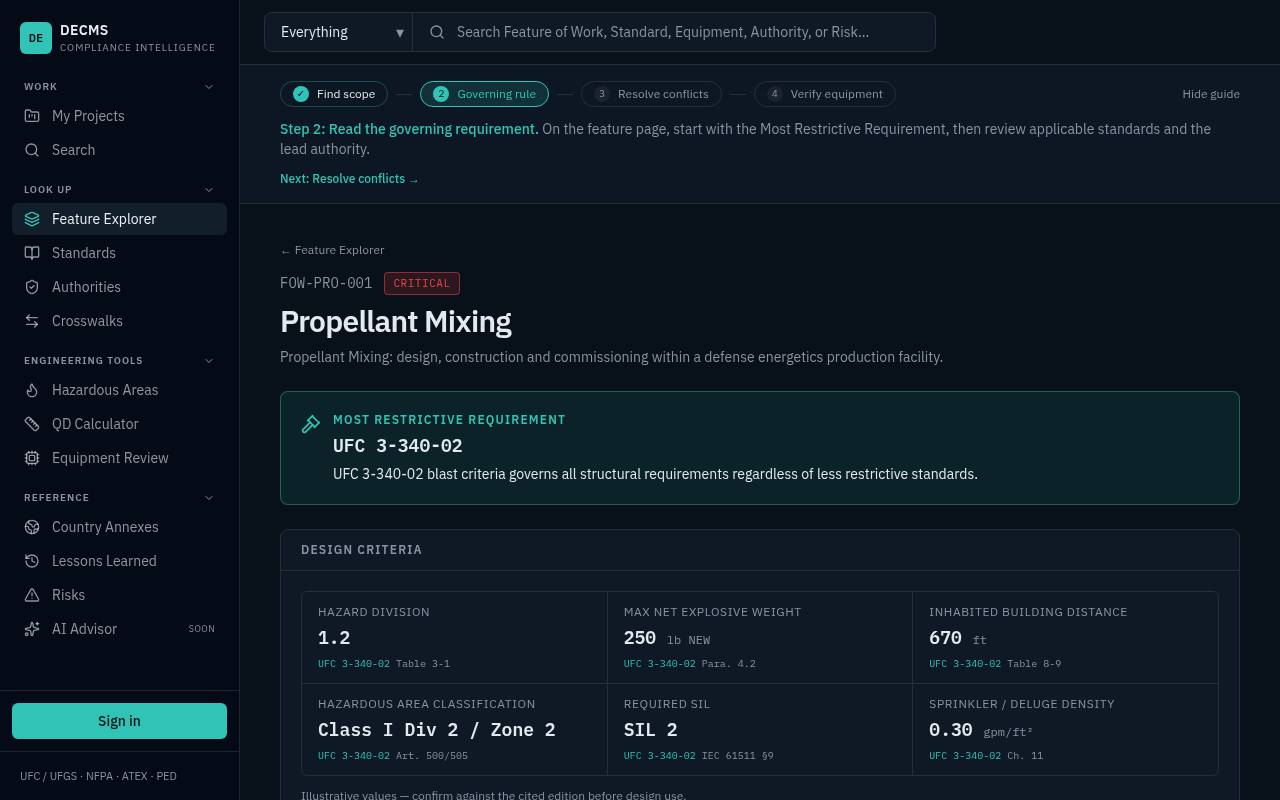
Identify the critical standards
Why it matters: The most restrictive requirement governs; meeting a lesser rule does not satisfy it.
- Open a feature and read the Most Restrictive Requirement first.
- Check the design criteria and their clause citations.
- Note the lead approval authority and the standard edition in force.
 Do it now: Open a feature →
- 5
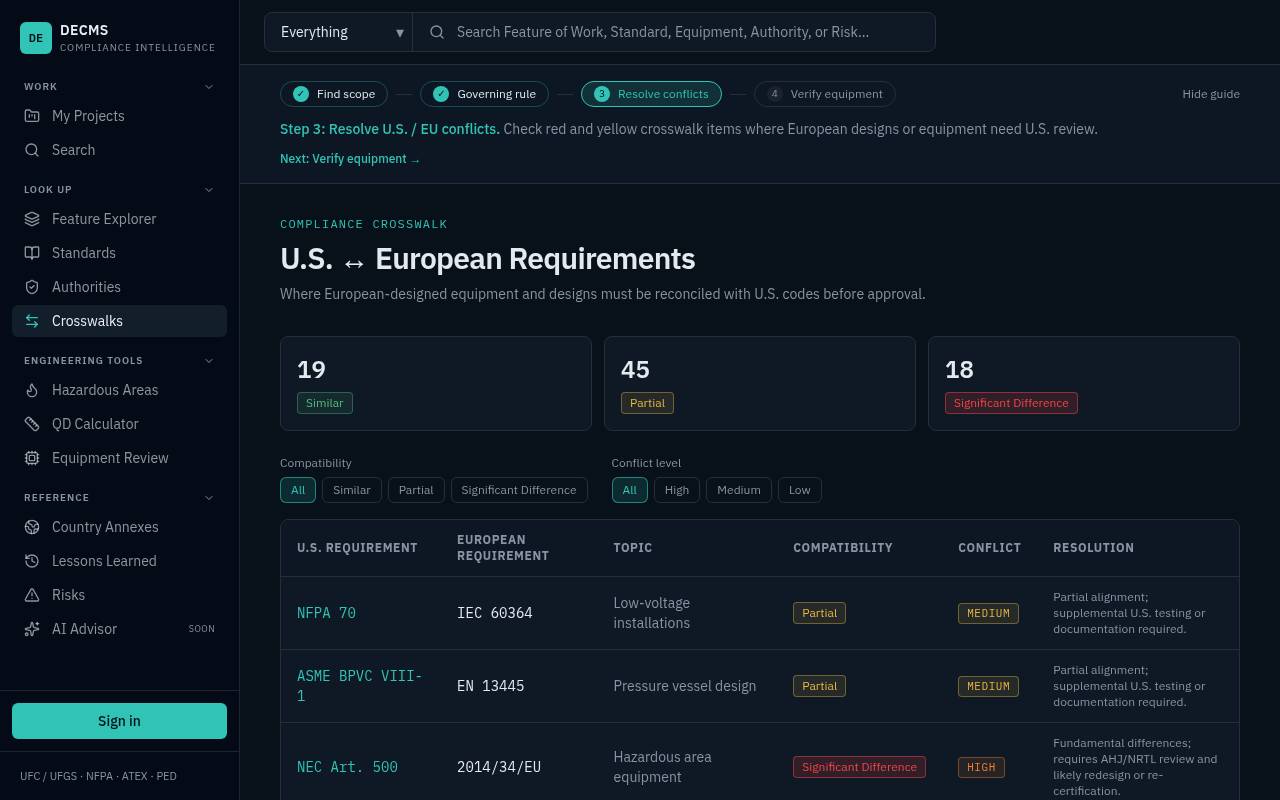
Resolve U.S. / EU conflicts
Why it matters: European designs and equipment often meet ATEX/PED/EN but not UFC/NFPA — catching this early avoids redesign.
- Open Crosswalks and review red (significant) and yellow (partial) items.
- Record decisions or waivers on the matching checklist items.
 Do it now: Open Crosswalks →
- 6
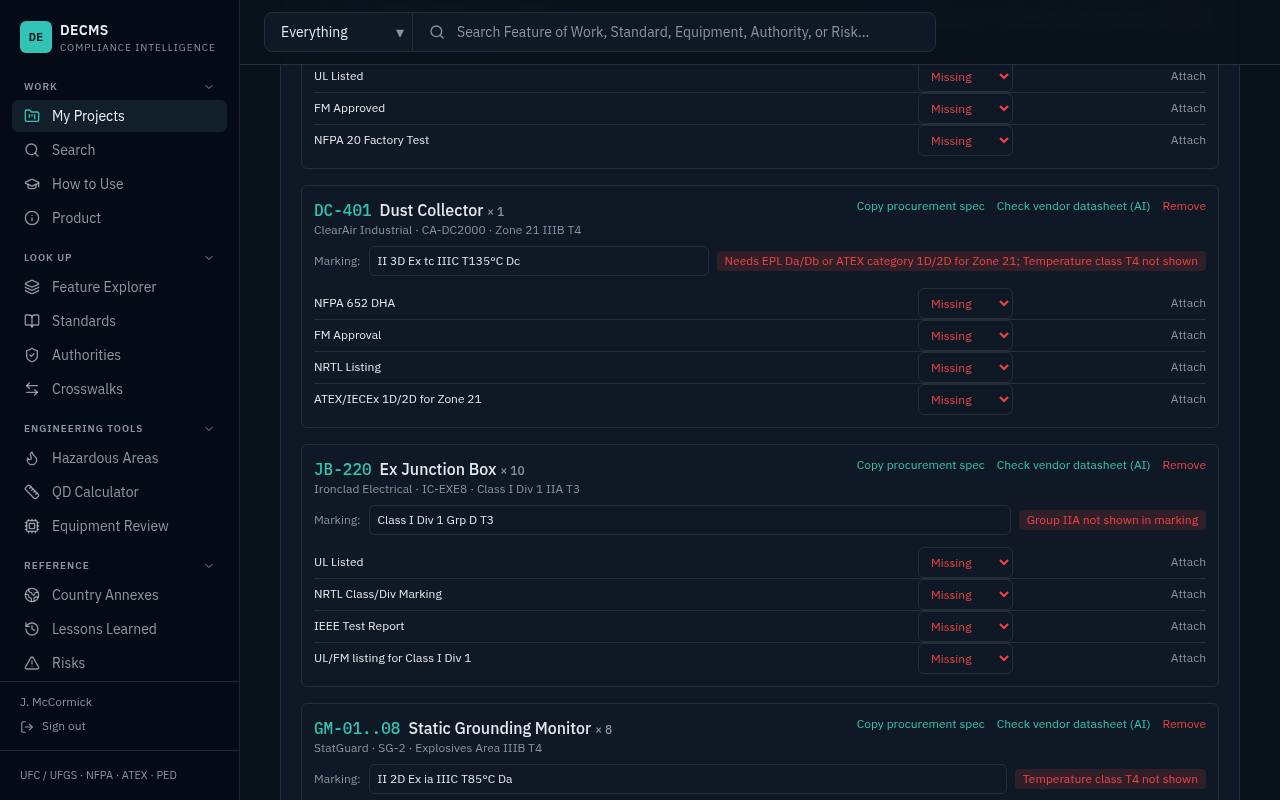
Register and verify equipment
Why it matters: Wrong markings for a hazardous zone are one of the costliest late findings.
- In the project's Equipment tab, add each item with its zone and markings.
- Zone matching flags items not suitable for their area.
- Upload certificates; run the AI datasheet check and confirm its quoted findings yourself.
- Copy the procurement spec text and export the submittal register.
 Do it now: Equipment Review →
- 7
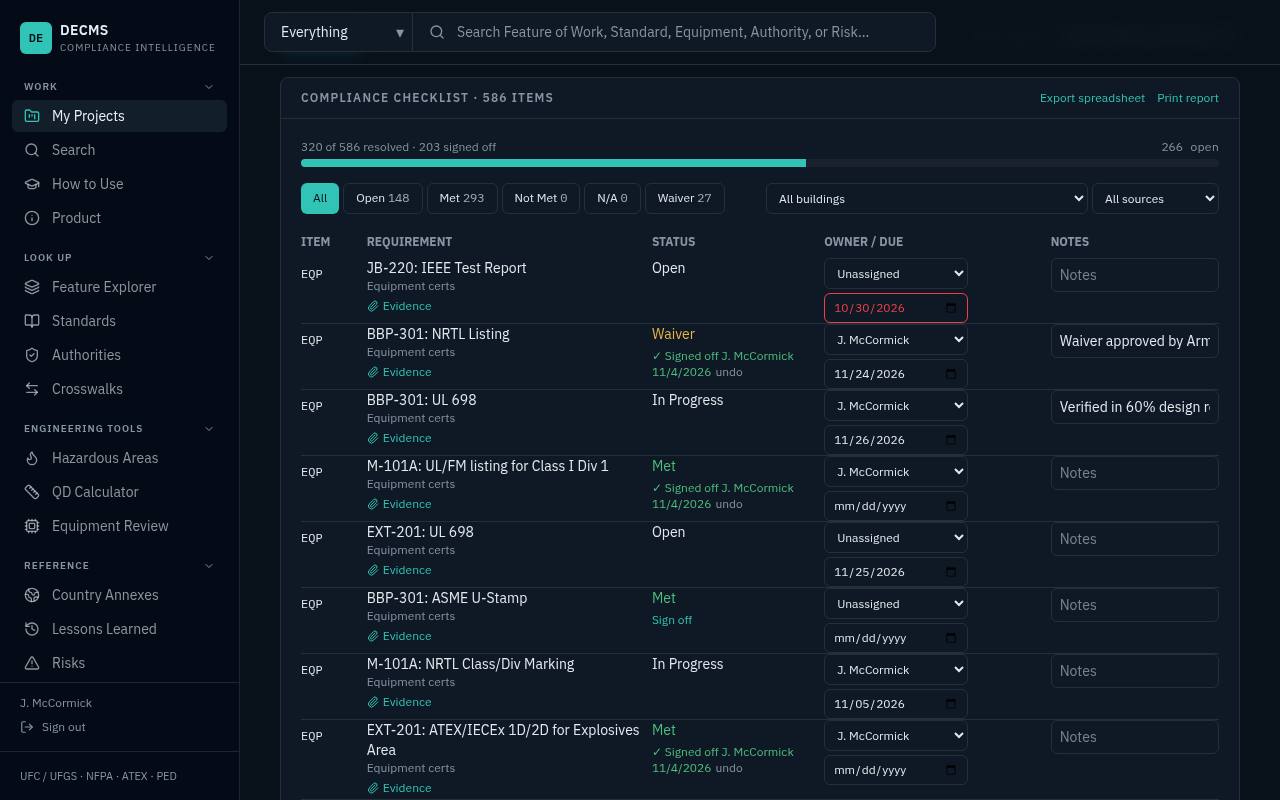
Work the checklist
Why it matters: This is where compliance is proven: every item needs a status, an owner and evidence.
- Assign items and set due dates; overdue items are highlighted.
- Attach evidence files to each item.
- Approvers sign off items as Met or Waiver.
 Do it now: Go to projects →
- 8
Reach zero open items and export
Why it matters: Zero open items means every governing requirement is accounted for.
- Watch the progress bar reach Zero open items.
- Export the checklist CSV or print the compliance report.
- Archive the project when done — it stays available to import from.
Roles at a glance
| Role | What they do | Edit | Sign off |
|---|---|---|---|
| Owner | Manages the team, members and projects | ✓ | ✓ |
| Designer | Adds features and equipment, updates items | ✓ | — |
| Reviewer | Reviews items and evidence | ✓ | — |
| Approver | Signs off items as Met or Waiver | ✓ | ✓ |
| Viewer | Read-only access | — | — |
Site Administrators can manage all users, teams, organizations and projects from the Admin Console.